GitLab 如何使用 Let’s Encrypt SSL 证书 ?

我们总是说安全第一,保护辛勤工作不受黑客攻击应该是首要任务。本教程将花几分钟的时间使用 Let ' s Encrypt SSL 证书来保护 Gitlab 服务器。
Configure SSL
编辑 Gitlab 主配置文件
sudo vim /etc/gitlab/gitlab.rb
首先更改外部 url 设置,域名以 https 开头。
external_url "https://gitlab.tecadmin.net"
在配置文件中添加或更新以下条目,将请求 SSL 证书并配置为 Gitlab 实例。您还可以提供一个可选的联系电子邮件,让加密机构使用它来发送 ssl 证书的警报。
#enable the Let's encrypt SSL

letsencrypt['enable'] = true

#get SSL related alerts

letsencrypt['contact_emails'] = ['email@your-domain.com']
配置 GitLab 以定期续签 SSL 证书。
#enable the Let's encrypt SSL

letsencrypt['auto_renew'] = true

#this example renews every 7th day at 12:30

letsencrypt['auto_renew_hour'] = "12"
letsencrypt['auto_renew_minute'] = "30"
letsencrypt['auto_renew_day_of_month'] = "*/7"
保存配置文件并退出编辑器,然后执行如下命令应用更改到 Gitlab 服务器。
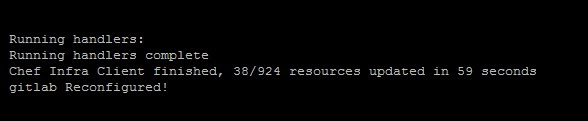
sudo gitlab-ctl reconfigure
这将花费一些时间来完成安装。最后,您将看到一条消息:gitlab Reconfigured!
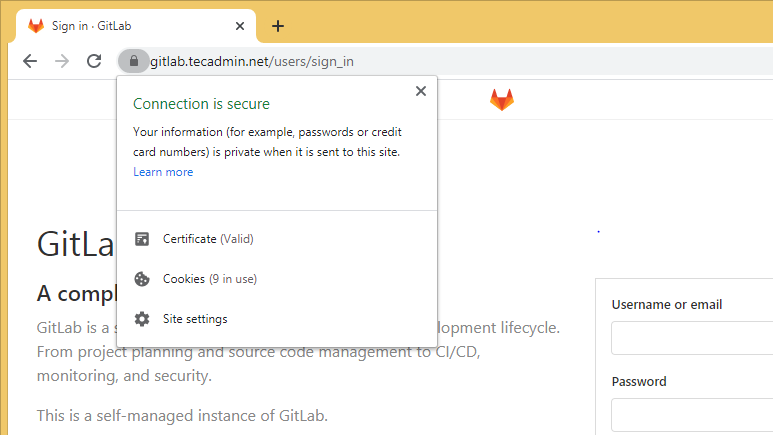
Verify SSL
在 web 浏览器中访问 Gitlab web 界面,这将自动重定向到安全的 URL。
我的开源项目

评论已关闭
关于作者
首席钢琴师